Why Your Work Trousers Look Wrong at the Ankle and How to Fix It

Conclusion
Your trousers now fit your frame. The hem is sewn, the cuff is pressed, and the corners are anchored. That is a permanent alteration that cost under an hour and no tailor’s fee.
The first time through always takes the longest. The next pair you hem with a cuff will take half the time because the measurement calculation stays with you. The formula does not change between trouser styles.
If you want to skip the length question entirely on your next workwear buy, Petite Work Jumpsuit Outfits rounds up the one-piece options that fit a petite frame without any alteration.
Save this guide to your Pinterest sewing board so it is there the next time you bring home a pair that needs taking up. If you want to keep building on this, try the same pinning and chalk technique on a pair of tailored trousers — the process is identical and the result looks like it came straight from a fitting room.
Most work trousers are hemmed for a woman who’s 5’7″. If you’re 5’4″ or under, that means extra fabric piling at your ankles and a break that reads as sloppy rather than tailored.
Learning how to hem trousers for a petite frame fixes this permanently. No more folding at the waistband before heading out. No more rolling the bottom up and hoping it holds through a full workday. This guide takes you from a pinned hem all the way to a finished folded cuff, in the exact order each step needs to happen.
By the end, your trousers will sit at the right length for your shoes, with a cuff that lies flat through an entire day and looks like a tailor did it. The hands-on work takes about 40 minutes. Allow another 20 minutes for pressing. You do not need a sewing machine. A needle, thread, and a hot iron get the job done.
Put the trousers and the shoes you will wear with them in the same room before you begin.
Time and Difficulty
Total Time
1 hour
Hands-On
40 min
Pressing and Cooling
20 min
Difficulty
Beginner
Sewing Machine
Optional
Before You Pin: Check Your Trouser Cut First
Not every work trouser suits a cuff on a petite frame. Skip the cuff and finish with a plain hem through Step 8 if any of these apply to your pair:
Wide-leg or flared cut. Removing more than 2 inches from a flared or wide-leg style shifts where the flare begins. The intended silhouette breaks from the knee down and the trouser loses its shape entirely.
A sharply tapered leg. A very narrow hem opening produces a cuff that buckles at the side seams rather than lying flat. The narrower the leg, the more the cuff fights itself.
Very lightweight or sheer fabric. Fine georgette and silk-like weaves do not hold a pressed crease through a full workday. The fold drops by mid-morning regardless of how much steam you apply.
For straight-leg, slim-leg, and wide-straight cuts in medium-weight fabric, a cuff works. Everything else gets a plain hem. Steps 1 through 8 apply to both.
If wide-leg is your go-to work trouser, How to Wear Wide Leg Jeans Petite Without Looking an Inch Shorter covers the full system for making that cut work on a petite frame.
1. Put on the trousers and pin the hem at your target length
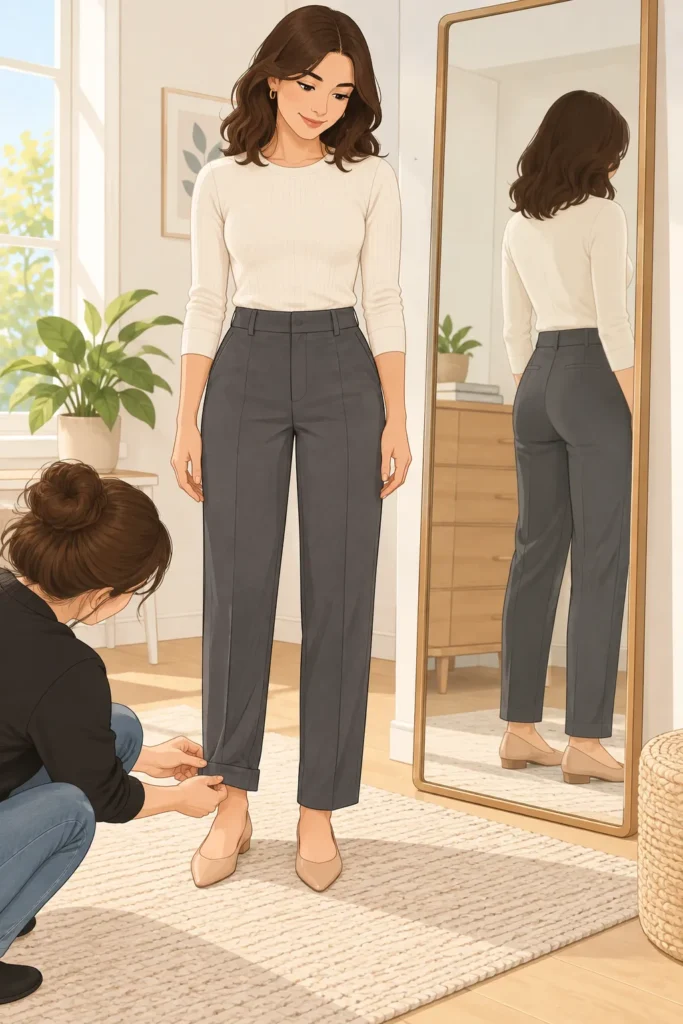
Your shoes need to be on before you pin anything. A small heel changes where the trouser falls by half an inch or more, and that half an inch is the difference between a clean finish and fabric bunching at the ankle. Stand straight in front of a full-length mirror.
Get someone to fold one leg up at the back of your heel to your preferred length, then pin once straight across at the back. For petite frames with work trousers, no break or a very slight quarter break reads the sharpest.
Getting the trouser length right is one part of building a work outfit that reads as tall on a petite frame. How to Build a Petite Work Outfit That Makes You Look Taller covers the full picture.
2. Mark the pinned height all the way around both legs with tailor’s chalk
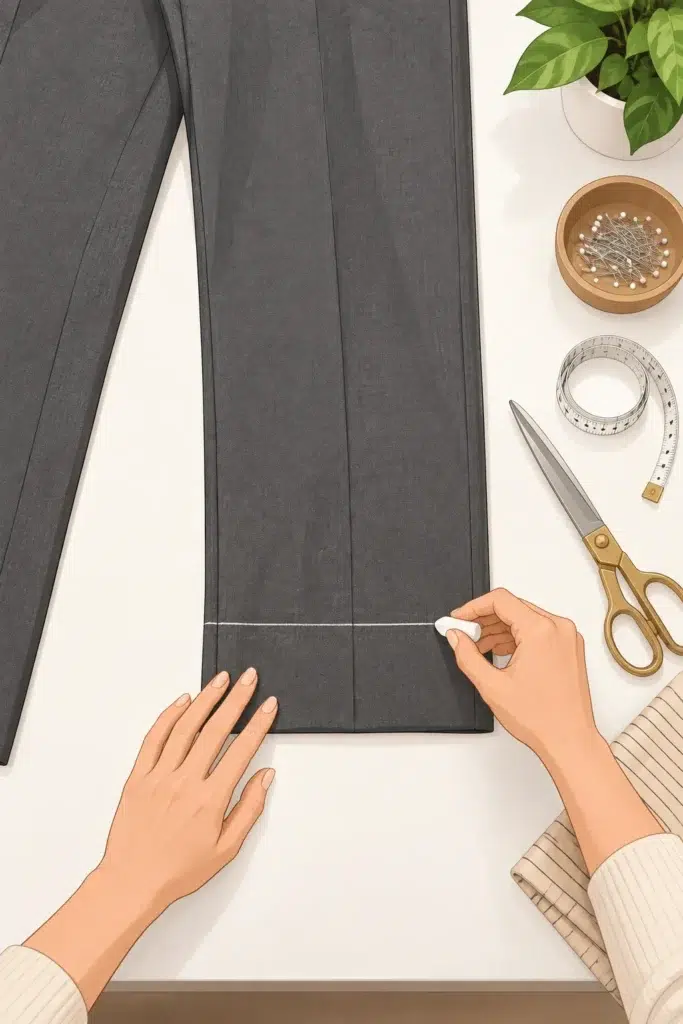
Take the trousers off and lay one leg flat on a table. Find the exact distance of the pin from the floor edge of the fabric using a measuring tape, then mark that same height at four to five evenly spaced points around the trouser leg with chalk.
Connect the points into one continuous line. Do both legs separately. Leg lengths often differ by a quarter inch or more, and assuming they match is what produces an uneven finished hem.
All 10 Steps at a Glance
- Put on the trousers and pin the hem at your target length
- Mark the pinned height all the way around both legs with tailor’s chalk
- Measure the allowance below the chalk line and mark your cut point
- Cut off the excess fabric at the cut point
- Turn the cut edge under and press that fold flat
- Fold the hem allowance up and pin it against the inside of the trouser leg
- Sew the hem by hand or by machine
- Press the finished hem flat from the right side of the trouser
- Fold the cuff up at the chalk line and press a sharp crease all the way around
- Tack the cuff corners at the side seams with three hand stitches
3. Measure the allowance below the chalk line and mark your cut point
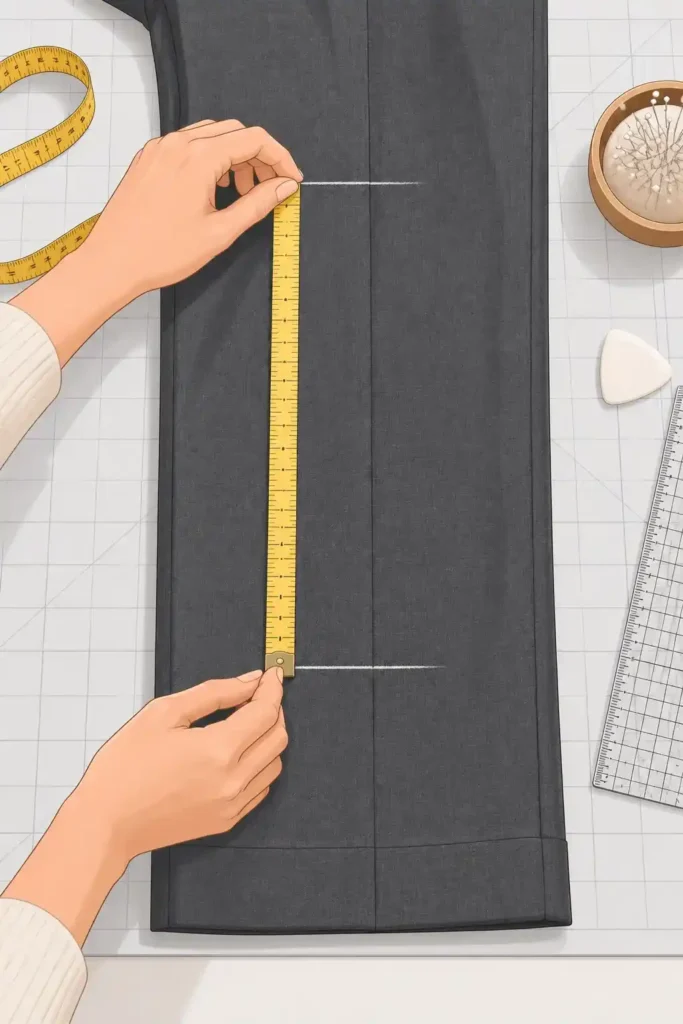
The chalk line marks where the cuff will fold when the trousers are worn. Below it, you need fabric for both the cuff and the hem. For a 1.25-inch deep cuff on a petite frame, measure 3.5 inches straight down from the chalk line and draw a second line all the way around the leg.
If you find yourself hemming every pair you buy, the sizing guide explains exactly why petite inseams vary so much across brands and how to read a size chart before you order.
That second line is your cut point, not the chalk line. Mark both legs, write the measurement down, and confirm both legs before you touch any scissors.
Pro Tip
A 1.25-inch cuff is the sweet spot for a petite frame. Wider than 1.5 inches and the cuff visually chops the leg at the ankle. Narrower than 1 inch and the fold is too shallow to hold a crisp crease through a full day. The formula is always the same: cuff depth doubled, plus 1 inch for hem allowance.
4. Cut off the excess fabric at the cut point
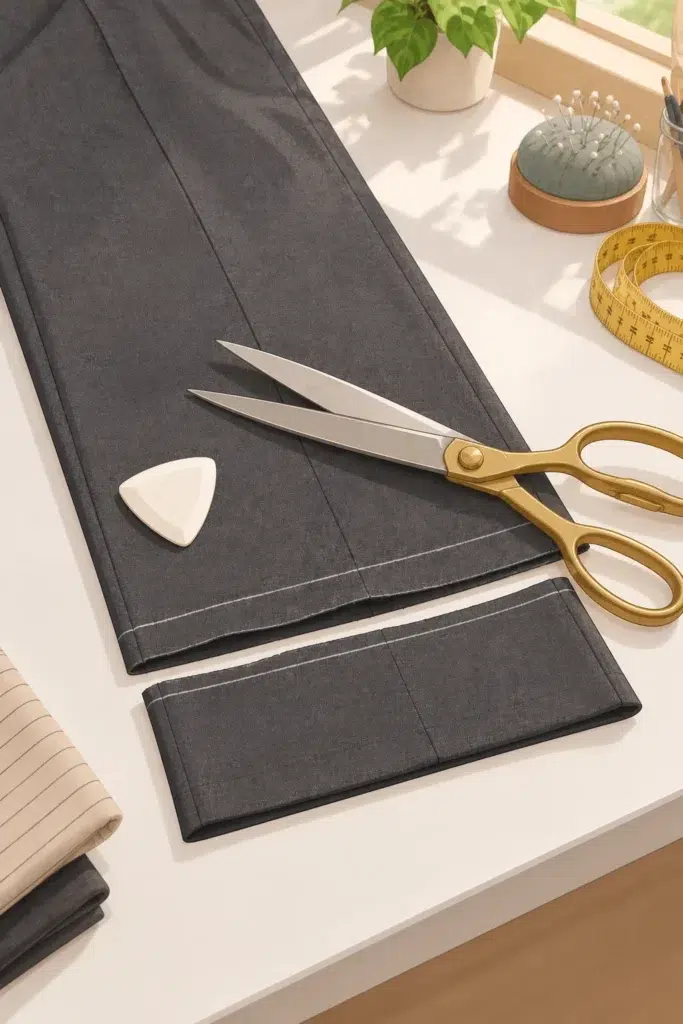
Two lines cross the trouser leg right now. Cut along the lower one. That is the cut line from Step 3, not the chalk line. Use sharp fabric scissors with long, steady strokes rather than small snips.
Short snips create a ragged edge that shifts when folded. Cut one leg completely before starting the second. After cutting, the chalk line should still be fully visible on both legs.
Heads Up
Cutting at the chalk line by mistake removes all three zones of allowance in one stroke. The trouser leg will be too short to hem and there is no way to undo it. Before any cut, confirm the scissors are sitting on the lower line, not the chalk line.
5. Turn the cut edge under and press that fold flat
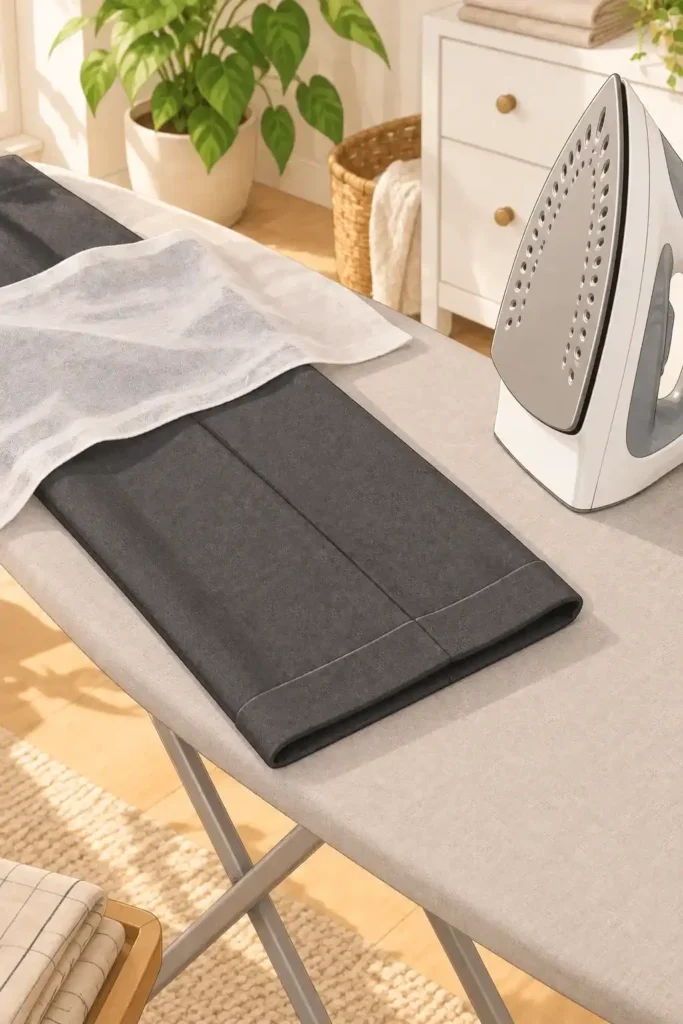
The raw cut edge frays if left exposed. Turn the trouser leg inside out. Fold the cut edge toward the inside of the fabric by exactly half an inch and press that small fold flat with a hot iron, holding for 10 seconds per section.
Work around the full circumference of each leg before moving on. If the fold runs wider on one side than the other, the finished hem will show a lumpy ridge from the outside.
What You Need
Have these within reach before you pick up a needle
Measuring
Marking
Cutting
Pressing
Sewing
6. Fold the hem allowance up and pin it against the inside of the trouser leg
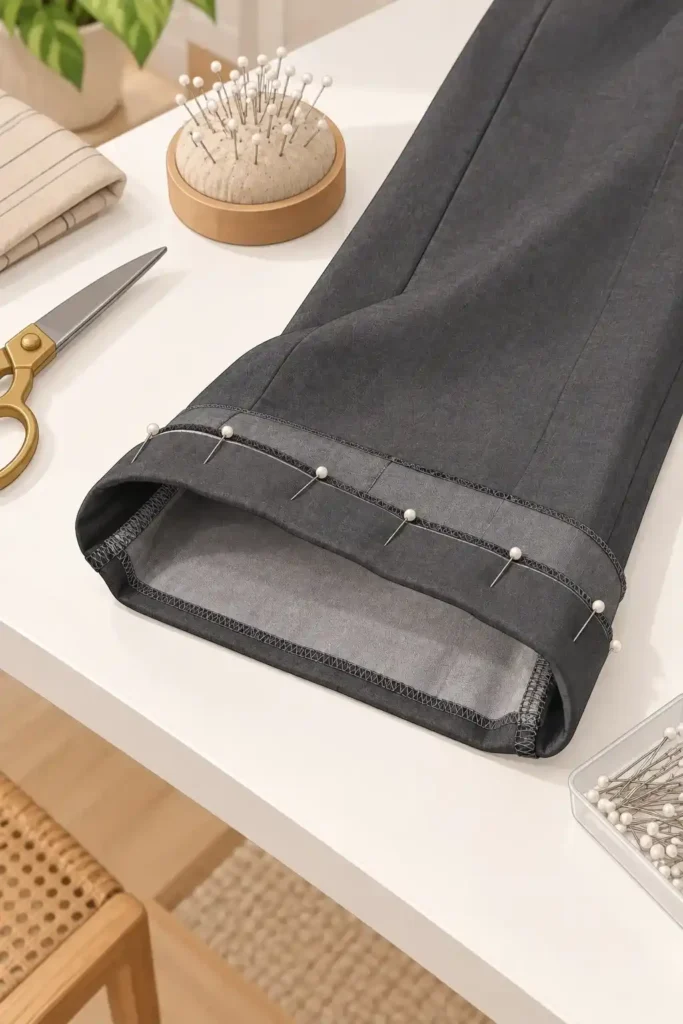
Four pins, minimum. Place them at the inseam, the outseam, and one point on each side between them. With the half-inch raw edge fold already pressed in place, fold the entire 1-inch hem allowance up against the inside of the trouser leg.
The fold line sits at exactly 1 inch above the original cut line. Keep the fold flat and level as you pin each point. An off-level fold at this stage creates a slanted hem that pressing cannot fix later.
Once the hem is finished, the rise of the trouser decides how the whole outfit comes together. High Waisted Outfits for Petite Women shows how to build a complete work look from that waistline up.
7. Sew the hem by hand or by machine
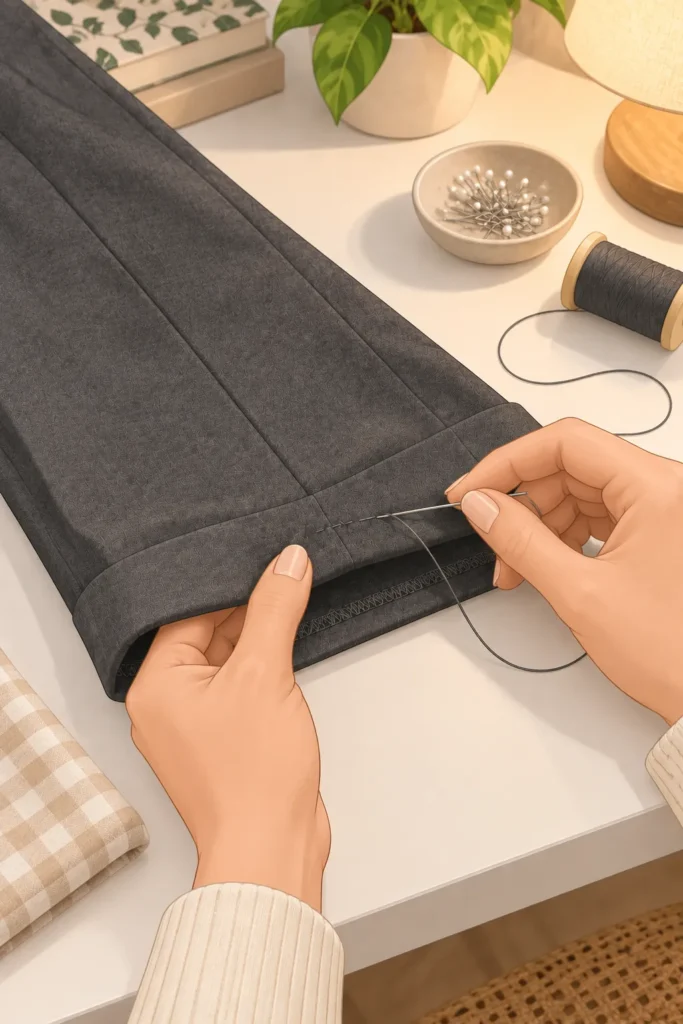
Thread a size 7 or 8 needle with about 18 inches of matching thread. Knot one end. Start at the inseam and anchor the knot inside the fold, then work a blind hem stitch around the full circumference. Pick up only one or two threads of the outer trouser fabric with each stitch.
Catching too much fabric pulls the thread through to the outside and leaves a visible row of dots on the finished hem. Keep tension light. Knot off at the inseam where you started.
8. Press the finished hem flat from the right side of the trouser
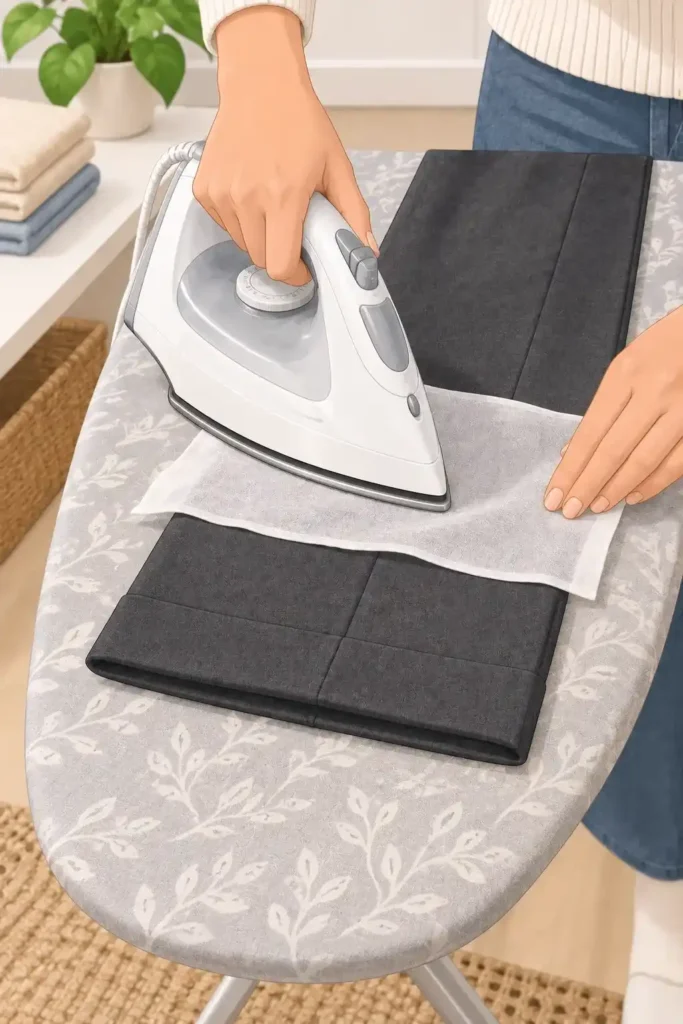
Right side out, on the ironing board. Place a pressing cloth over the hem area and press firmly, holding the iron down for 10 to 15 seconds per section without sliding.
Sliding smears the fold. Lift, move, press. Let the fabric cool fully before touching the hem again. The pressing sets the stitches and collapses the hem allowance inside so no ridge shows from the front.
9. Fold the cuff up at the chalk line and press a sharp crease all the way around
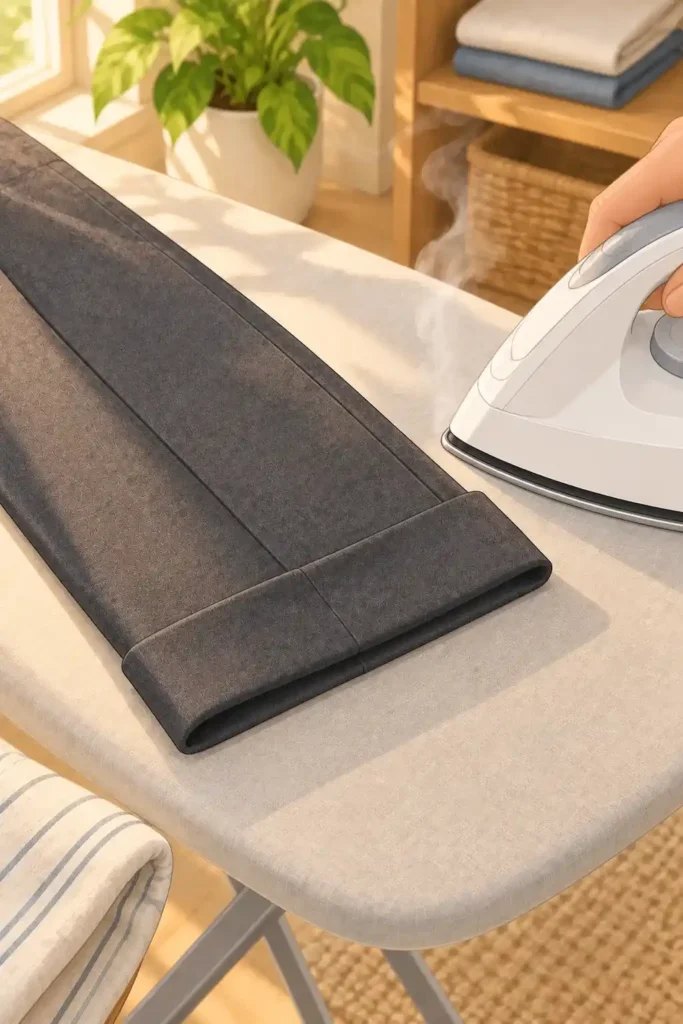
The chalk line is still on the fabric. Find it on both legs. Fold the bottom of the trouser back at the chalk line, flipping the hemmed section outward so it faces away from the inside of the leg. This creates the cuff.
Pin loosely at three or four points around each leg to hold the position. Press the fold firmly with steam, holding the iron down for 20 to 30 seconds per section. A weak press means the cuff unfolds by mid-morning. Go firm.
10. Tack the cuff corners at the side seams with three hand stitches
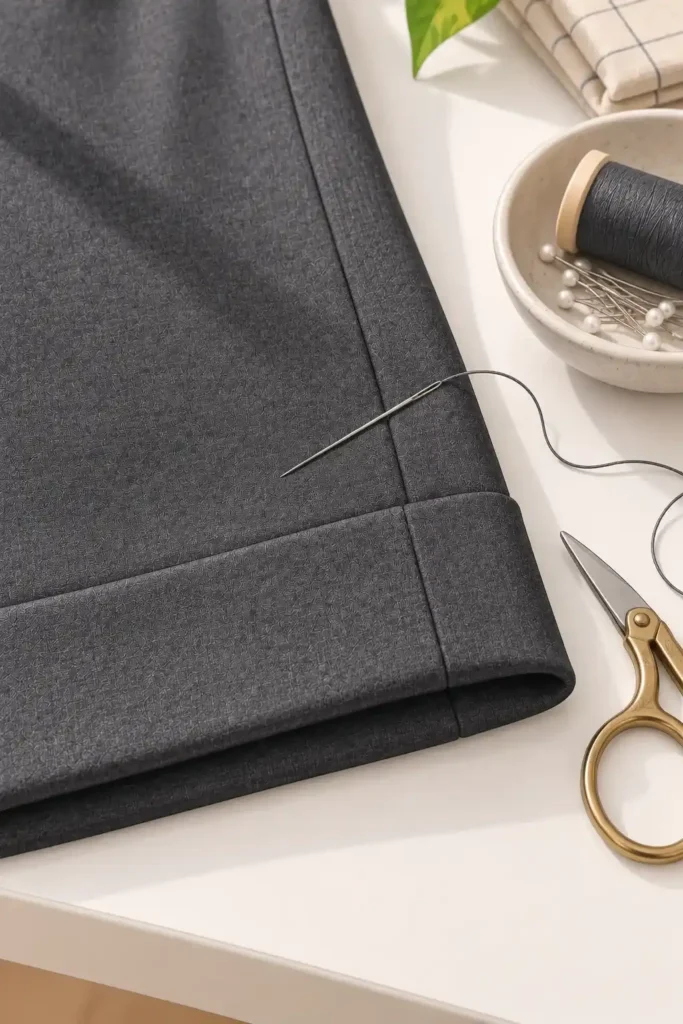
Three stitches. That is all it takes to anchor the cuff through repeated wearing and washing. Find where the cuff fold meets the outseam and inseam on each leg. Push the needle through both layers of the cuff fold at each point, pull tight, and knot off.
Do not sew all the way around the full circumference of the cuff. The point is to anchor the corners, not lock the fold permanently. A cuff stitched all the way around cannot be let down later if you ever need to re-hem.
Conclusion
Your trousers now fit your frame. The hem is sewn, the cuff is pressed, and the corners are anchored. That is a permanent alteration that cost under an hour and no tailor’s fee.
The first time through always takes the longest. The next pair you hem with a cuff will take half the time because the measurement calculation stays with you. The formula does not change between trouser styles.
If you want to skip the length question entirely on your next workwear buy, Petite Work Jumpsuit Outfits rounds up the one-piece options that fit a petite frame without any alteration.
Save this guide to your Pinterest sewing board so it is there the next time you bring home a pair that needs taking up. If you want to keep building on this, try the same pinning and chalk technique on a pair of tailored trousers — the process is identical and the result looks like it came straight from a fitting room.